Direct Answer
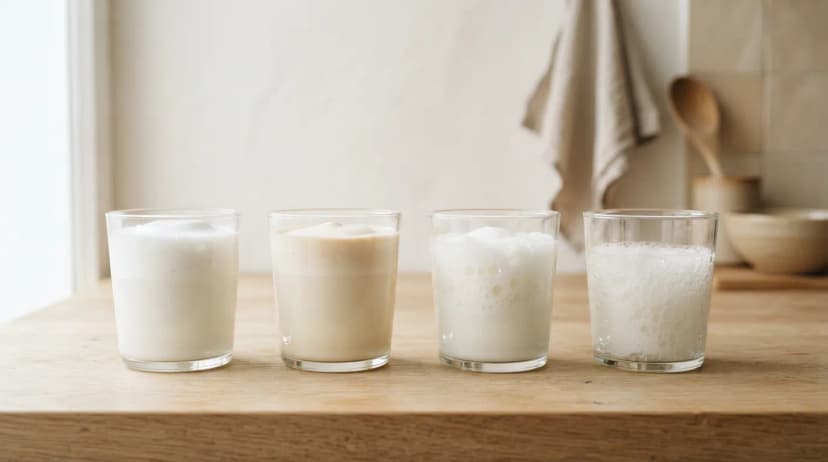
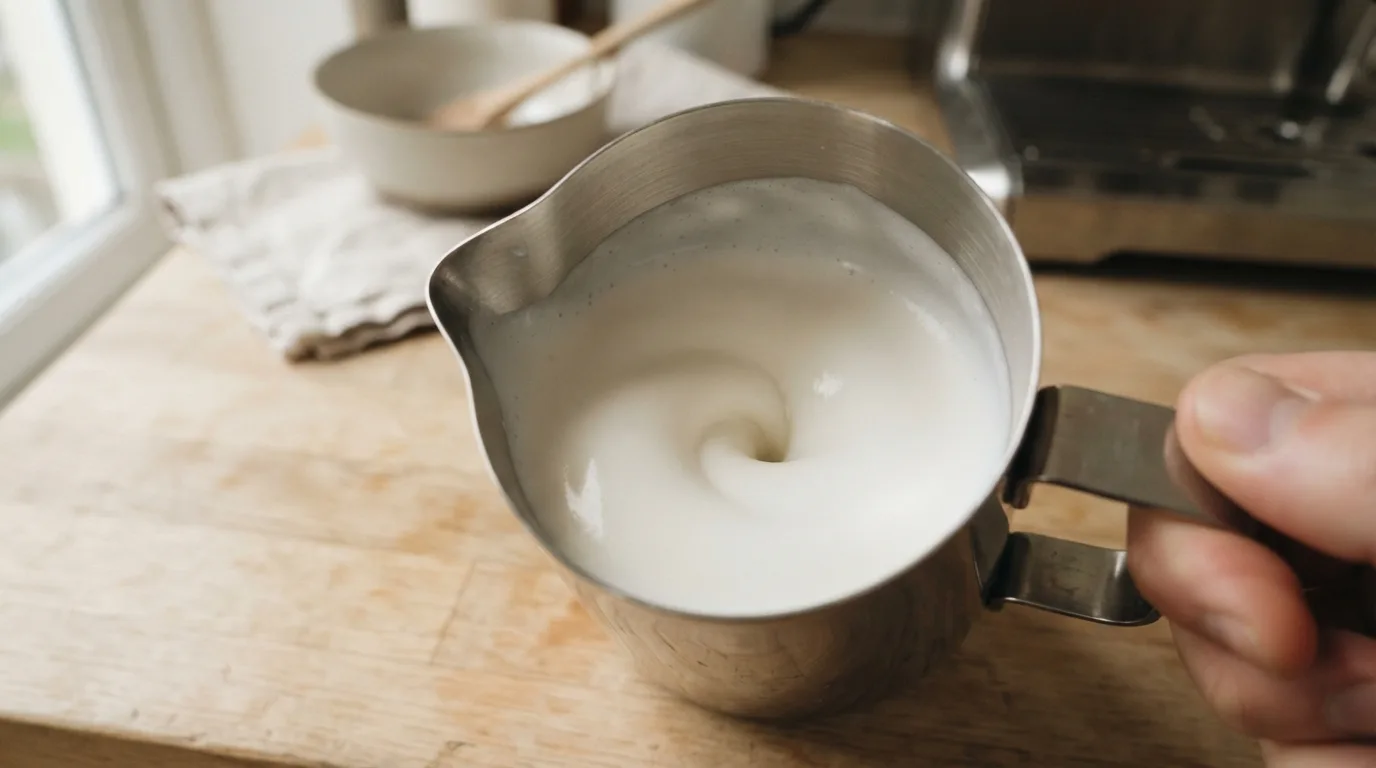
Microfoam is milk foam with bubbles small enough that the texture looks smooth and glossy, like wet paint, instead of like soap suds. You get there with two motions in sequence: stretching (pulling air into the milk early, while it's still cool) and texturing (folding that air into progressively smaller bubbles as the milk warms). Most home frothers can produce it — the equipment isn't the limiting factor, the technique is.
Why This Works: Stretch, Then Texture
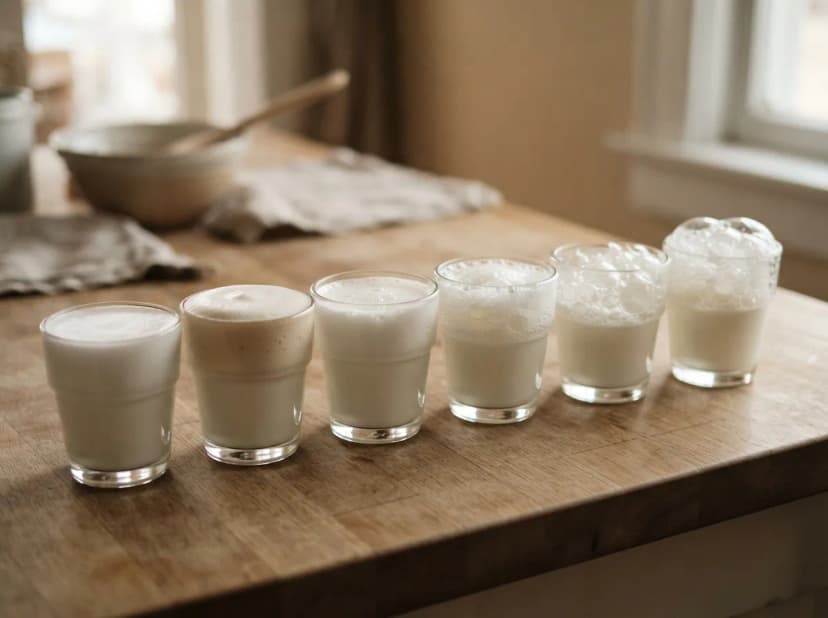
Big-bubble foam and microfoam start from the same air-in-milk process described in how to froth milk at home — the difference is entirely in bubble size, and bubble size comes from when and how the air gets introduced. Stretching happens in the first several seconds, while the milk is still cold, and it's when most of the total air volume goes in. Texturing happens after, as the milk continues moving and warming, breaking those larger bubbles into finer ones. Skip texturing and stop right after stretching, and you get big, loose foam — the "soap bubble" look. Do both in sequence, and the bubbles get small enough to look smooth rather than foamy.
Step-by-Step
- Start with cold milk in a tall, narrow container — microfoam needs room for the milk to circulate, which a wide mug doesn't give you.
- Position the whisk head just below the surface. This is the stretch phase — you want it introducing air, not fully submerged and just stirring.
- Hold that position for 5–8 seconds, watching the volume increase noticeably. This is most of your total foam volume, created early.
- Lower the whisk head slightly deeper and continue running for another 15–20 seconds. This is texturing — the milk should start looking glossier and the bubbles visibly smaller as this phase continues.
- Stop when the surface looks like wet paint — smooth, with a slight sheen, no visible individual bubbles. If you can still see distinct bubbles, texture for another 5 seconds.
- Tap the container on the counter two or three times and swirl gently. This pops any remaining large bubbles and evens out the texture right before pouring.
The Most Common Failure Point
If your foam is airy and voluminous but looks bubbly rather than glossy, you stretched too long and didn't texture long enough — you added plenty of air but never broke it down into small enough bubbles. The fix isn't less air, it's more time with the whisk head slightly deeper, continuing to work the existing foam rather than adding new volume.
The reverse failure — foam that looks smooth but barely increased in volume — means you skipped or rushed the stretch phase. Texturing alone, without enough initial air, produces a small amount of very fine foam rather than the fuller microfoam texture you're after.
If nothing is foaming at all, the problem is upstream of technique: see why is my milk not frothing.
Equipment Note
A handheld or electric frother both work for this — what matters is your ability to control depth and timing, not the frother's price. A frother with variable speed makes the transition between stretch and texture phases easier to control, but a fixed-speed handheld wand works fine if you manage the timing manually, as described above. This is one of the few places where practice matters more than equipment: expect several attempts before the texture becomes reliable.
Which Milk Makes This Easier
Whole milk is the most forgiving milk for microfoam — its higher fat content makes the texture more stable while you're still learning the timing. Skim milk can reach a finer, stiffer microfoam once you have the technique down, but it's less forgiving of small timing errors while you're practicing. Oat milk labeled "barista" is workable; other non-dairy options generally don't have enough protein to hold a true microfoam texture regardless of technique — see best milk for frothing for the full comparison.
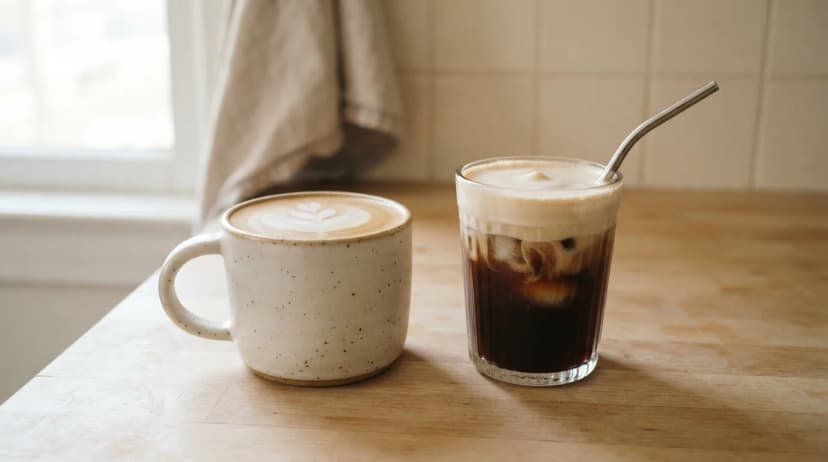
Microfoam is a hot-foam technique. For the cold equivalent and when each one belongs, see hot foam vs cold foam.
Which Frother Should You Use?
If you're specifically working toward microfoam and pour-over latte art, an electric frother with adjustable speed gives more control over the stretch-to-texture transition than a fixed-speed handheld — which frother type suits which drink goes through that by drink. If you're not chasing latte art and just want good foam texture generally, the difference between microfoam and standard foam may not matter enough to justify choosing equipment around it — the regular foam methods in how to froth milk at home will serve you fine.